What a map hub should actually do
A real map hub should reduce decision fatigue. It should help you pick one destination, understand whether the route is safe enough now, and show what other nearby objective is worth taking if the trip goes well.
- boss markers should link to real unlock-focused guides
- resource markers should connect to farming pages, not just names
- waygates and caves should be treated as route multipliers
- base locations should be judged by travel value, not only build space
Map trap: close markers are not always good objectives
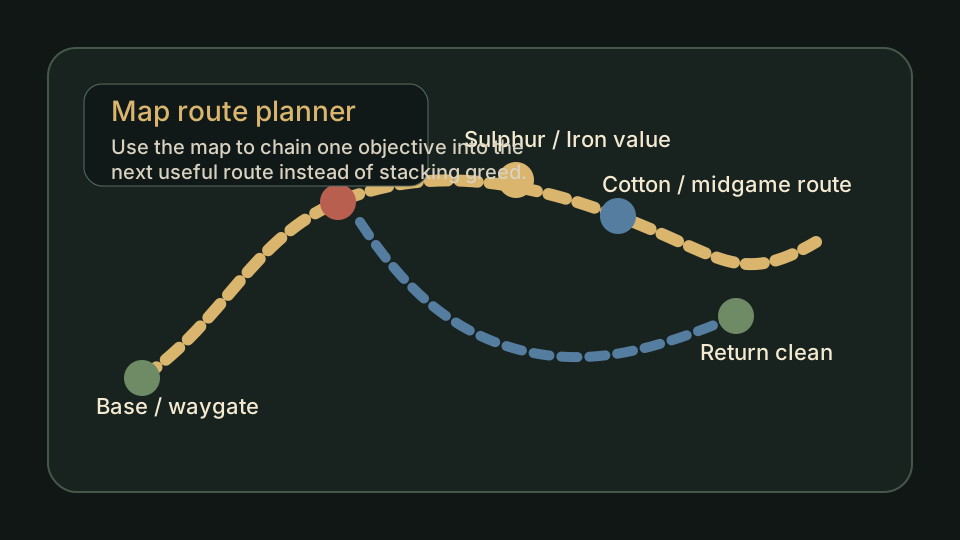
Two markers being near each other does not automatically mean they belong in one trip. Before chaining objectives, check whether the first goal is already secured, whether the second stop stays on a clean return path, and whether the extra stop delays the upgrade you came for.
If the second marker only looks tempting because it is nearby, keep the run small. A clean trip that upgrades the save is better than a wide route that only looked efficient on the map.
One-route map check
Before opening every nearby marker, turn the map into one route plan:
- Name the trip goal: boss, resource, waygate, cave, or base-location check.
- Mark the return path before adding any side objective.
- Choose one optional nearby payoff that supports the same goal.
- Open the specific guide page if the marker raises a fight, haul, or base-flow question.
If the map gives you five tempting stops, shrink the plan until one clean run still makes sense. A useful map session should make the next trip clearer, not turn it into a tour of every close icon.
How to use the map before you leave base
- Pick one trip goal before opening the route.
- Check whether the area matches your current gear and unlock needs.
- Plan the return path before adding a second objective.
- If the run already succeeded, leave before greed turns it into a loss.
This is the difference between using the map as a planning tool and using it like a panic search tab after the run is already going badly.
Quick route picker
If you know the kind of trip you want, use this table before opening individual markers. It keeps the map focused on the next useful decision instead of turning the run into random detours.
| What you need right now | Open this first | Use the map to check | Stop the run when |
|---|---|---|---|
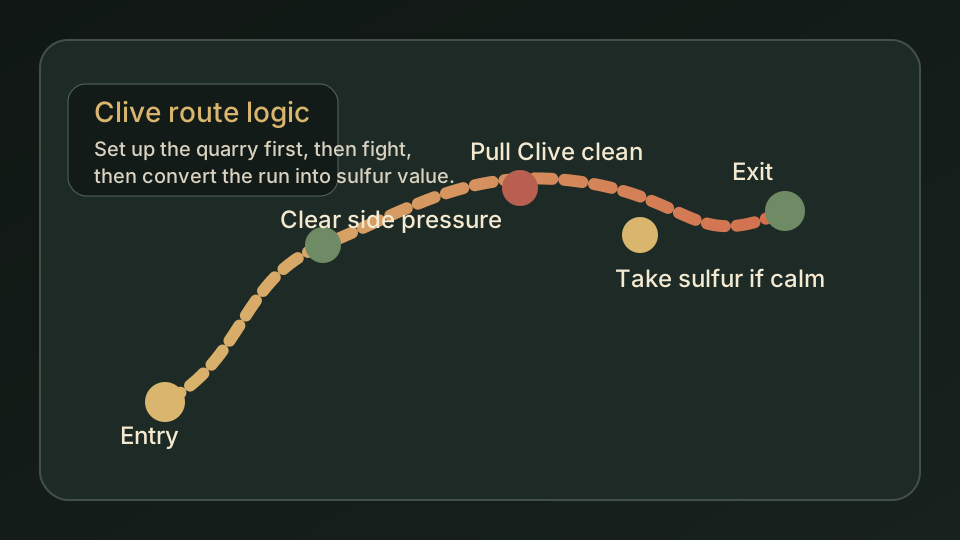
| Early boss progress | Clive the Firestarter | Quarry approach, nearby Sulphur value, and return path | The boss kill and useful nearby value are already secured |
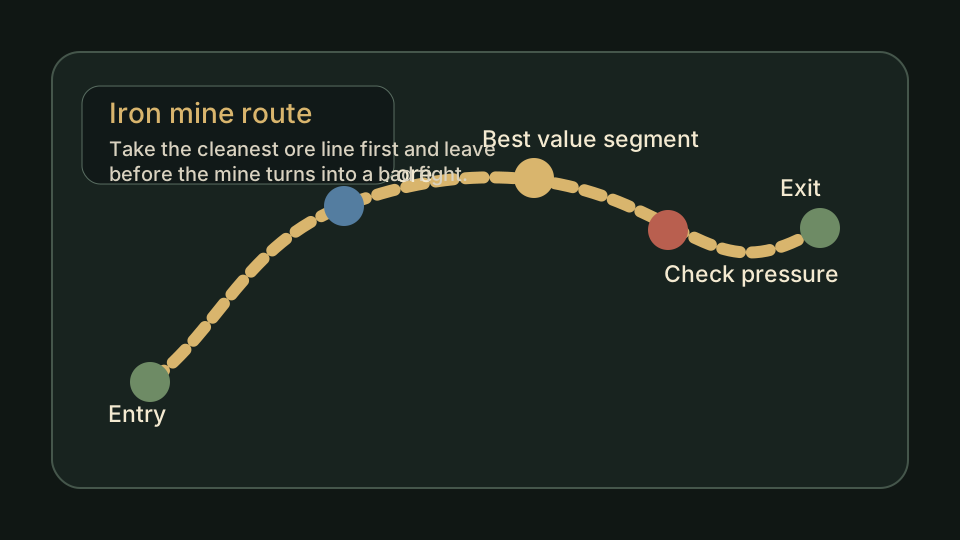
| First serious metal upgrade | Where to Get Iron | Mine entry, exit safety, and whether the first ore segment is enough | Pressure starts costing more than the haul is worth |
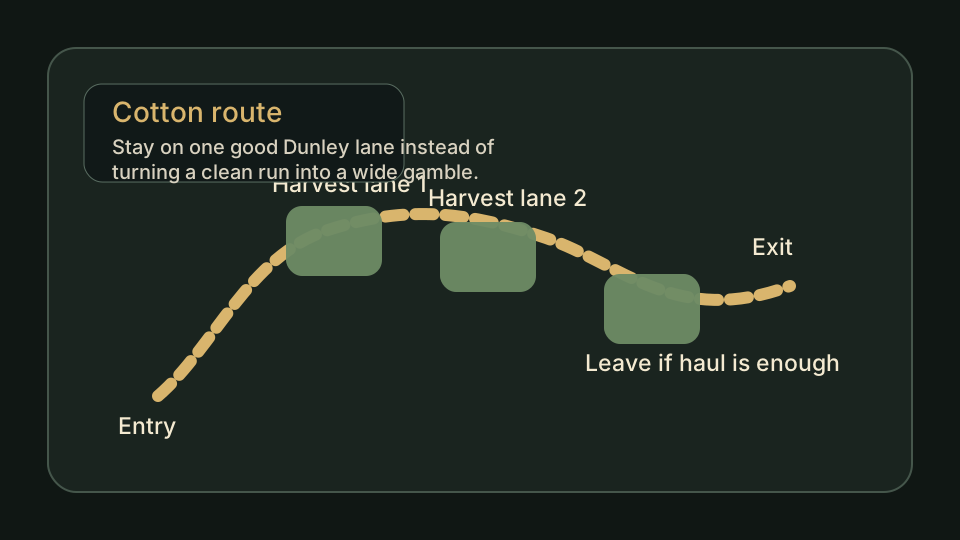
| Midgame fabric route | How to Find Cotton | Dunley approach, farm pressure, and the shortest safe return | The first useful Cotton haul can become Cloth or gear progress |
| Better castle planning | Best Early Base Location | Distance to repeated routes, waygate access, and future expansion pressure | The location solves travel friction without forcing a huge rebuild |
30-second pre-run map check
Before leaving base, use this short check to keep the map from becoming a distraction. If one answer is weak, open the matching guide first instead of trying to solve the problem mid-run.
| Question before you leave | If the answer is yes | If the answer is no |
|---|---|---|
| Can you name the one thing this trip must accomplish? | Use the map to pick the cleanest route to that goal. | Open Progression first and choose the real blocker. |
| Do you know what will make the run “good enough” to bank? | Leave once that value is secured, even if nearby markers look tempting. | Open the matching resource guide or boss route before widening the trip. |
| Does the return path still make sense after a heavy haul? | Use Waygates, caves, and base distance as travel support, not magic fixes. | Check Waygate and fast travel before relying on a shortcut. |
| Would one bad pull ruin both the main goal and the extra detour? | Keep the second stop optional and exit as soon as pressure gets expensive. | Make the trip smaller; a clean short run beats a wide route that only looked smart on the map. |
Common map mistakes to correct
Opening every nearby marker
Nearby does not always mean efficient. If the extra stop delays the upgrade you came for, it is map clutter disguised as value.
Using Waygates like haul routes
Fast travel helps positioning, scouting, and some returns, but resource-heavy trips still need a real physical route plan.
Choosing a base from one screenshot
A good base spot should shorten repeated routes. Pretty map position matters less than the trips you will repeat every session.
Waiting until the run is already bad
The map works best before you leave. Once enemies, inventory, and daylight pressure stack up, route planning turns into damage control.
What most players are really searching for
The keyword is broad, but the practical intent is usually narrower. Most map searches are really one of these:
- where is the next boss
- where do I farm the next important resource
- what route is closest to a useful waygate
- can this trip chain into another upgrade after I get home
That is why this page should feel like a route directory, not an empty shell around pins.
Best linked pages from the map
Clive the Firestarter
Move from a quarry marker to a real boss and Sulphur route.
Where to Get Iron
Use the map to judge whether the mine trip is worth doing right now.
How to Find Cotton
Turn a Dunley marker into a cleaner midgame farming route.
Best Early Base Location
Choose locations based on route quality instead of only aesthetics.
Why the map still helps after you find the marker
The map is not only for finding one location. It becomes more useful when it connects the marker to a route, a return path, and the next upgrade you are trying to unlock.
After you find the marker, the next question should be simple: what does this trip unlock, what should you bring home, and which guide explains the payoff?
Planned visual proof
- one route-picker screenshot or diagram that starts from a single trip goal
- one marker-to-guide handoff example
- one example of a route that looks close on the map but should stay small in practice
FAQ
What should a good V Rising map show?
A useful V Rising map should show more than boss pins. It should help players find bosses, resources, waygates, caves, and route options that matter for real progression.
Is a V Rising map only for finding bosses?
No. Boss locations are important, but a strong map page is just as useful for resource farming, return planning, and deciding whether a route is worth doing at your current stage.
What is the best way to use the map before a run?
Pick one goal first, check the closest useful marker, then plan the approach and return path before you leave base. That prevents random detours and greedy route stacking.
Why does a map page matter after the first lookup?
Because one marker rarely solves the whole run. A strong map page helps players connect the location to a route, a return path, and the next progression step.